|
|
|
Hobby Guide
Painting an Eldar Spaceship
|
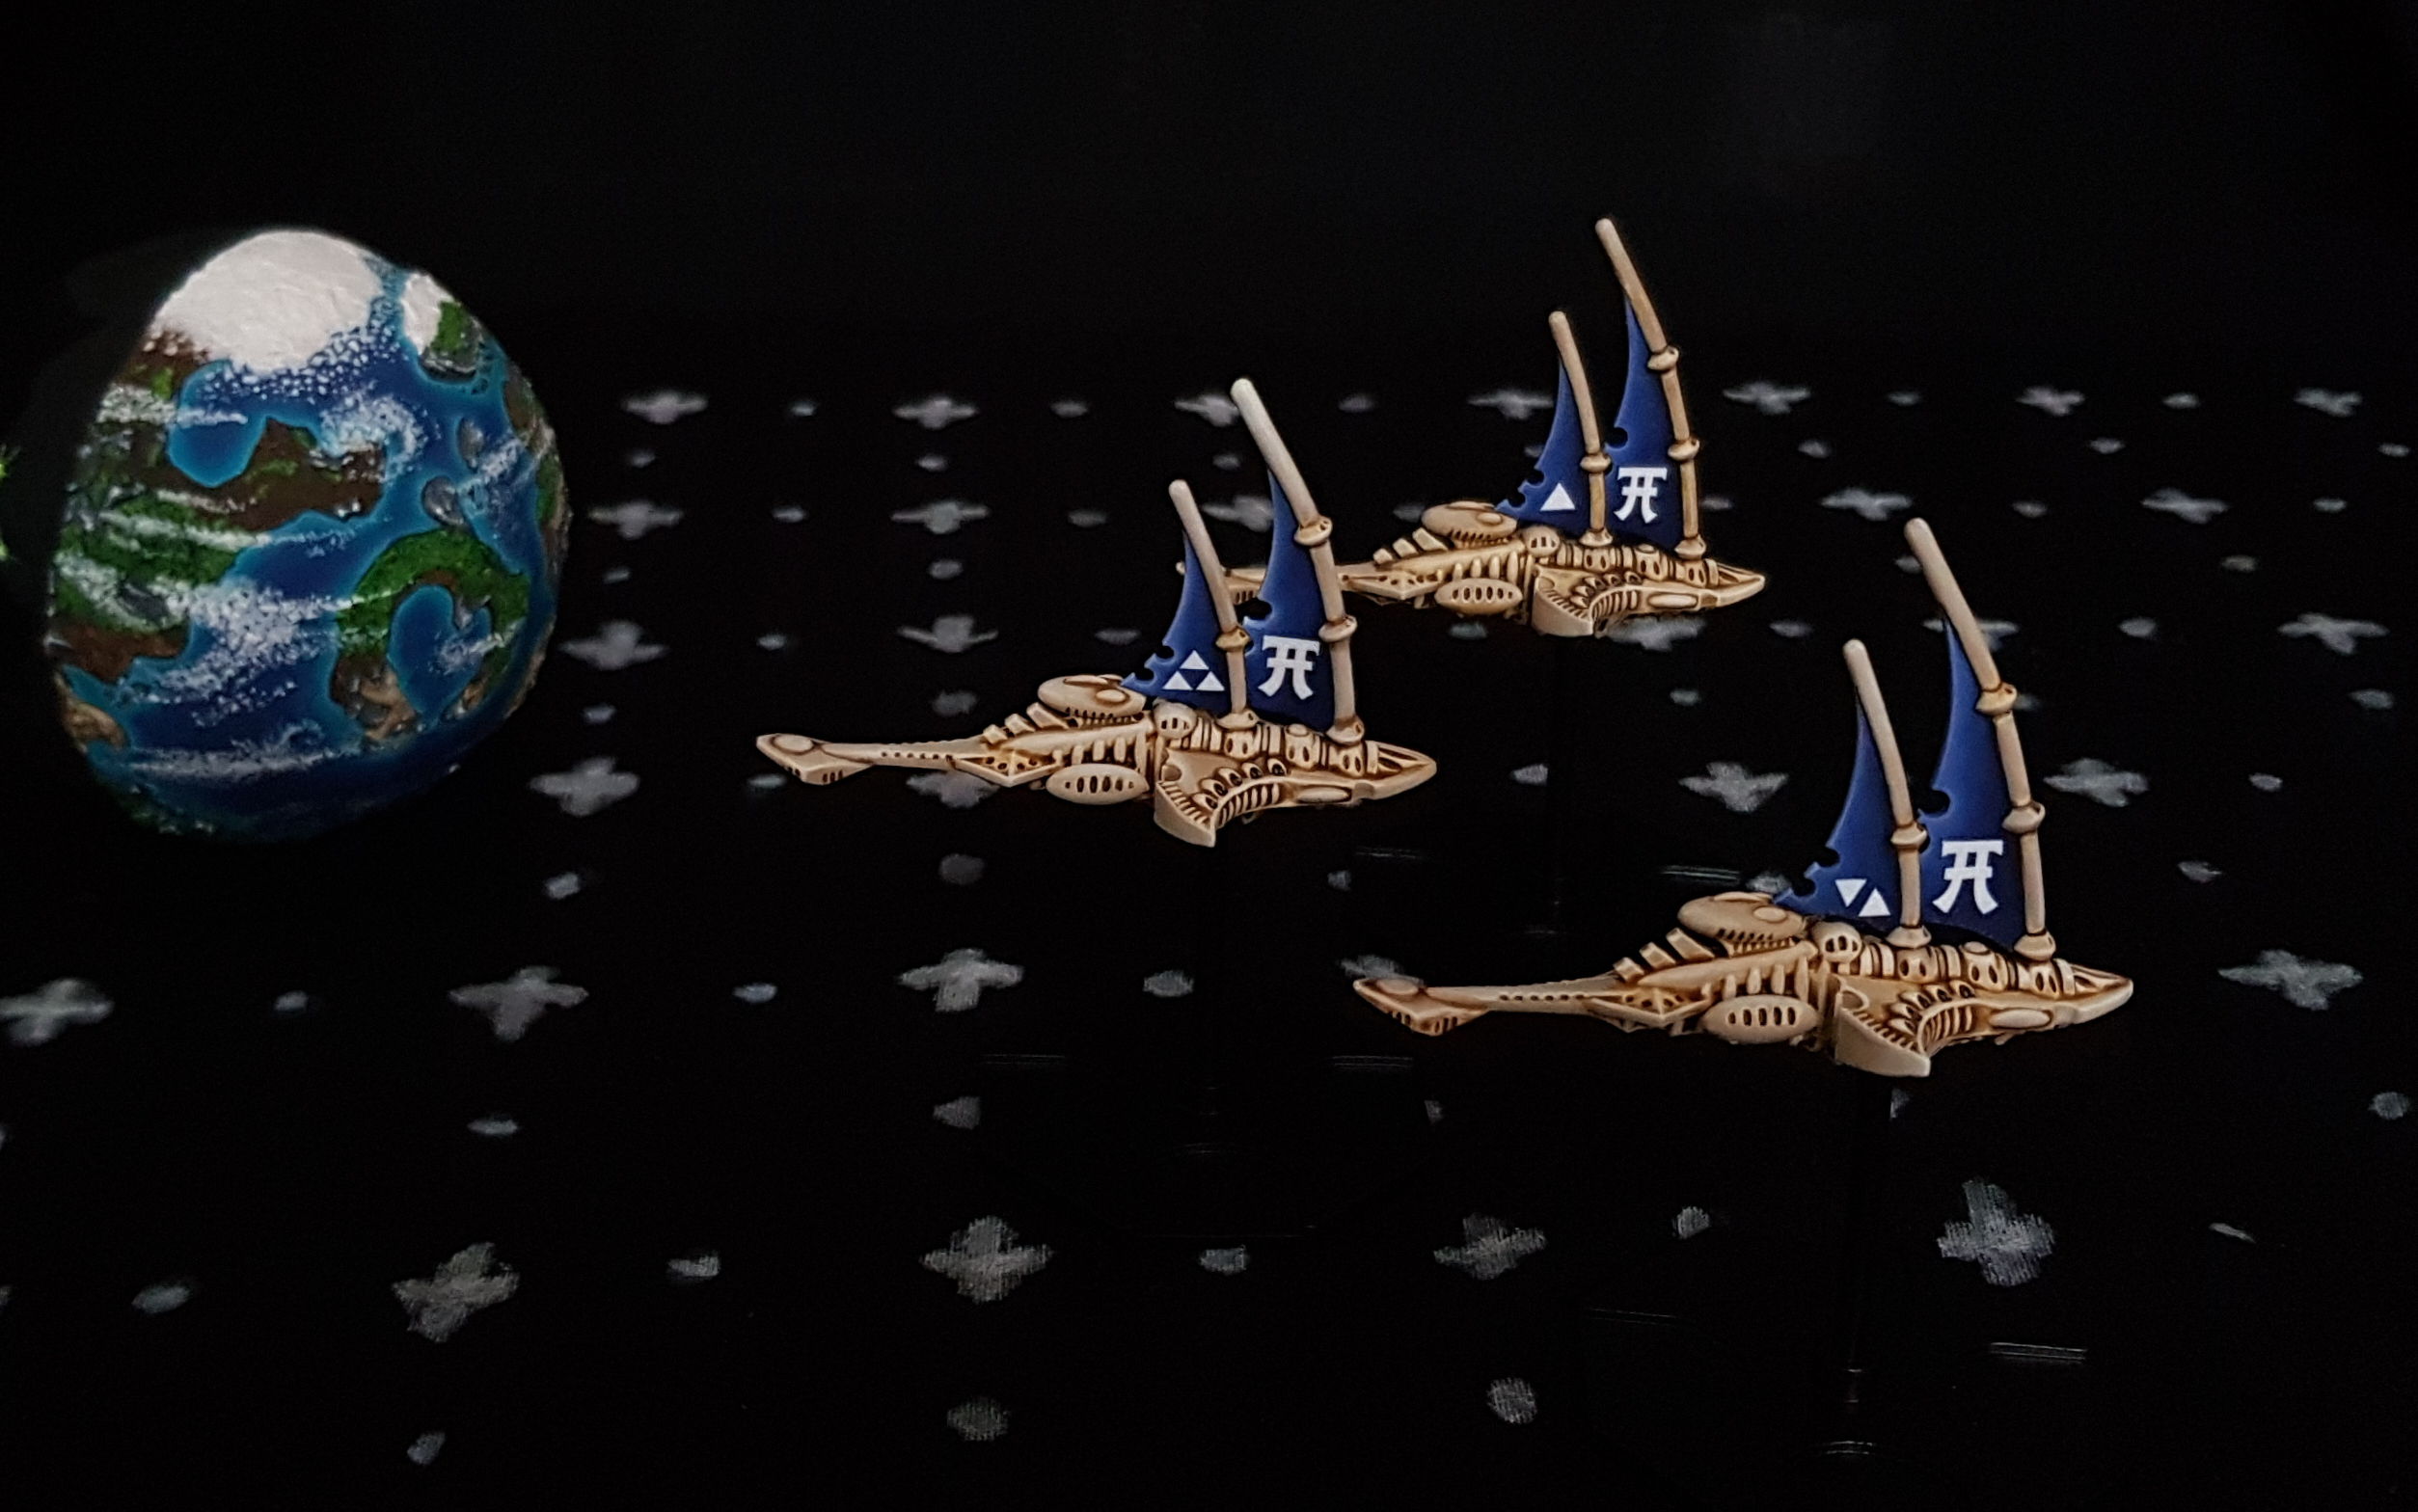
| A squardron of Iyanden Wraithships guarding a maiden world.
|
Here I will discribe in detail how I painted the Eldar Wraithships you see in the picture above. They display the color scheme of Craftworld Iyanden. There was no story
reason behind this choice; I simply liked the color scheme. However, instead of yellow, I used beige and bone-like colors. I think it fits the theme of
spaceships made of Wraithbone nicely. Here is what I've done:
- First, I grind and polish the 3D prints to remove the print lines. Depending on the quality of the 3D printer, this can be more or less work,
but it is crucial for achieving a good result!
- Then I needed to build a stand for priming the ships. I used a Space Fleet base with a magnet on top and another magnet in the hole under the Wraithship.
This is important because I had to prime the ship with a rattle can from the underside as well. Of course, I could also do it in two separate steps, but that
was too much work and waiting time for me.
- After that, I primed the Spaceship with a white primer
- Then, I painted the spots that weren't primed with white acrylic paint. Semigloss paint works best and the usual hobby paints are all semigloss.
- I painted the whole model generously with Citadel Contrast Paint Skeleton Horde, but leave the sails blank. Here I didn't had to be precise.
- I mixed the Citadel Contrast Paint Skeleton Horde with some Vallejo Model Color Offwhite for flat areas and for highlights. I made the top highlights pure
Vallejo Offwhite.
- Then I painted the sail with the Vallejo Game Colour "Stormy Blue" (not the Xpress Color "Storm Blue"!). I mixed the blue with white for the highlight
torwards the edges.
- After finishing the sails I painted the symbol on the sails in pure white. Here I hab to be precise, it makes a lot of work, to paint over here.
- The guns where painted in pure black with grey highlights.
- I sprayed the whole ship with a rattle can matte transparent varnish to harmonize all the colors. Only matte will look good! That's it. Done!
Back to top
Speedpainting a Gothic Battleship
|
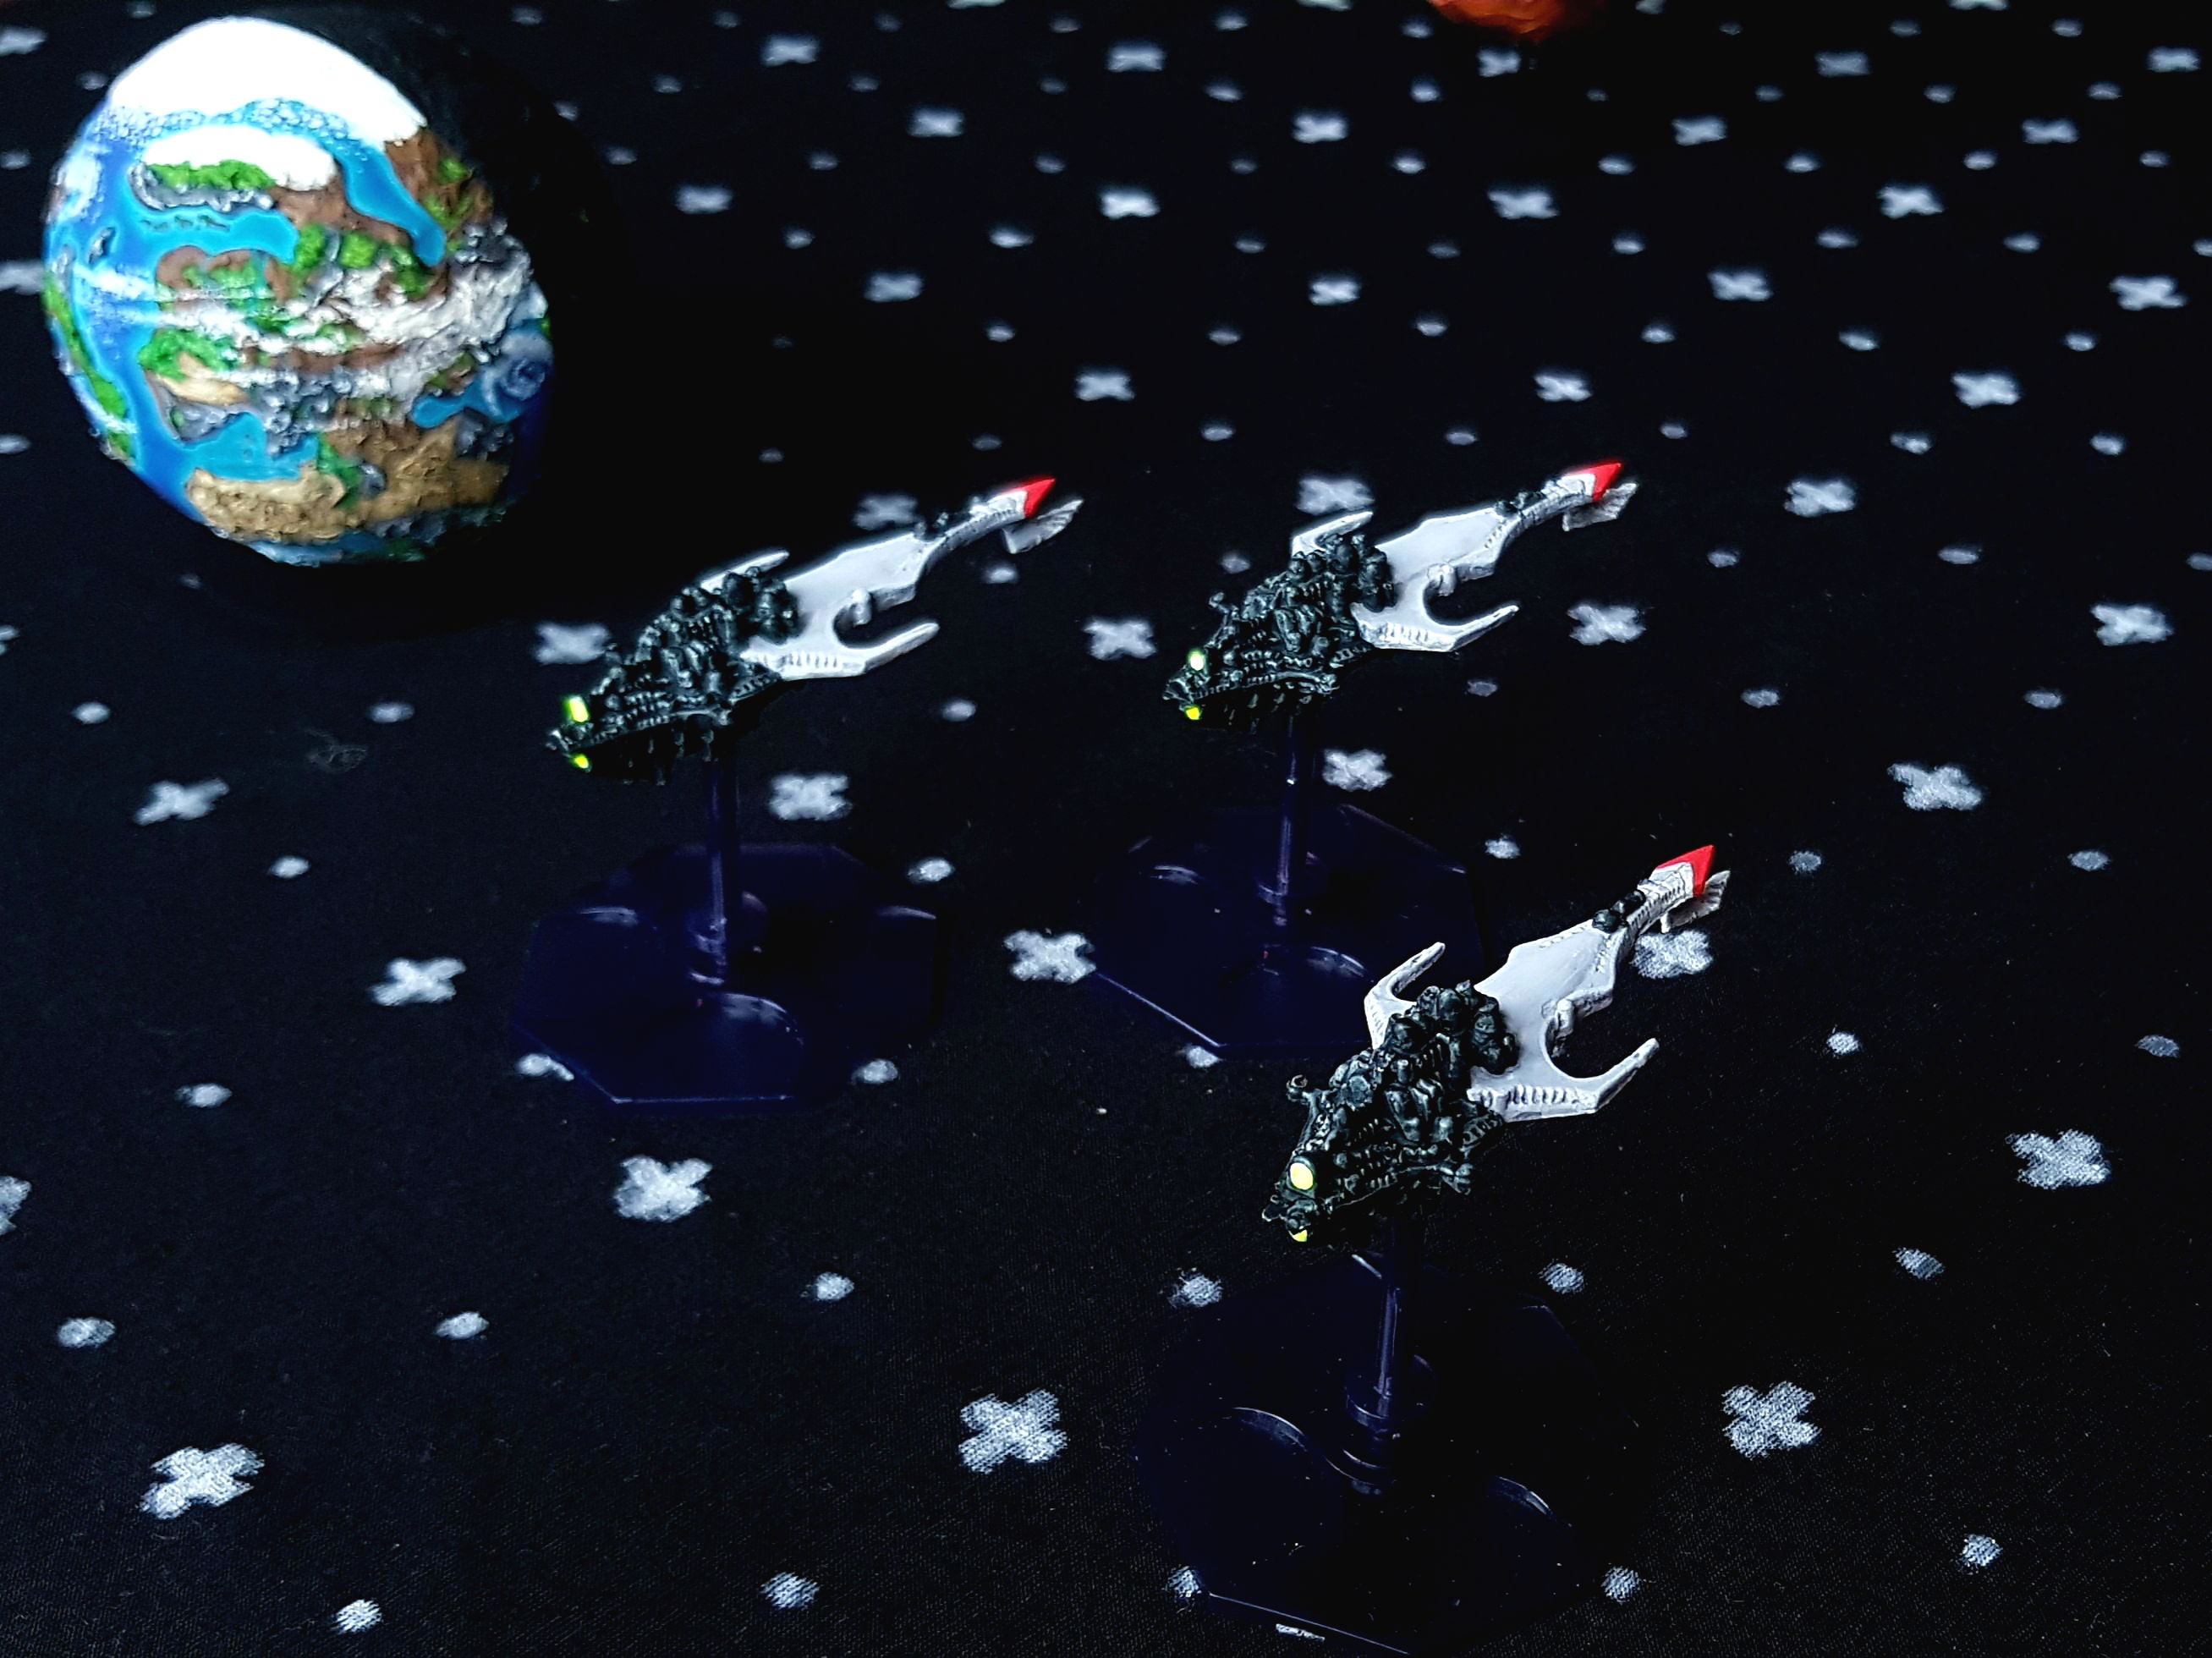
| A squardron of imperial Gothic Battleships building a reconnaissance patrol.
|
The three Gothic Battleships you see above are speedpainted in just about 15 minutes each. Speedpainting techniques are very useful to muster a large fleet in a
short amount of time. Here is how i did it:
- I didn't bother to remove mould lines etc. The idea was, that no one would see it on the battlefield and thats true. On Fotos this looks quite ugly, but
in real life it is hard to notice.
- I spraypainted the ships in pure white.
- For the light grey parts I used generously the Speedpaint Color Holy White by Army Painter.
- The dark grey parts are equaly generously painted with the Citadel Contrast Paint Black Templar.
- I repainted the thrusters white.
- Then, I painted the thrusters with the Vallejo Model Color Yellow Fluorescent.
- At last, to break up the monotony, I painted a deep red stripe on the spaceships front. Done!
Back to top
Building a Planet
|
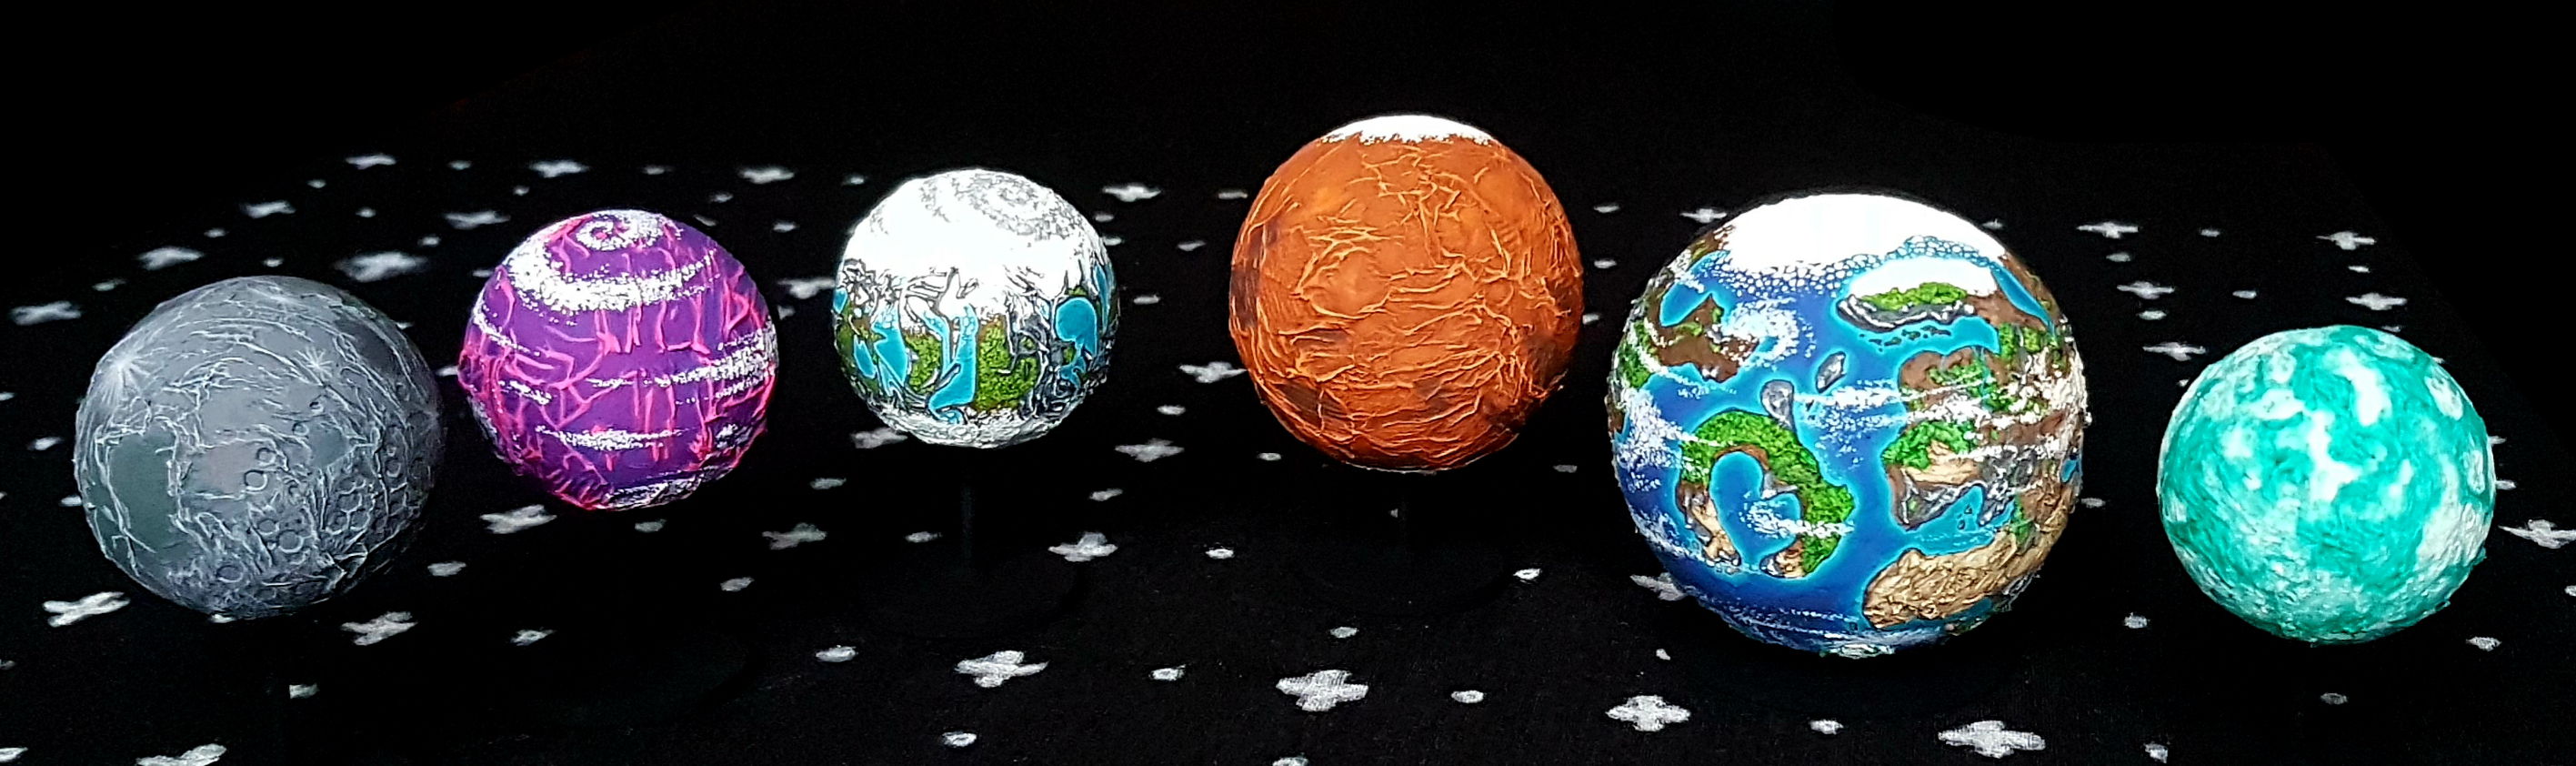
| Planets and moons for space battles in the 41. millennium.
|
3D planets are a huge improvement over the ones printed on the original game board, in my opinion. They also have the advantage of being freely placed on the board.
Since they are not hard to build, I made a bunch of them, as you can see in the picture above. Normally, a planet occupies one square on the board, meaning they are
relatively small. However, I made my maiden world bigger, so it occupies four squares now. This has no impact on the rules or gameplay; it just looks nicer. Here is
what I did to build a planet:
- First, I gathered the materials: a small wooden plate, a polystyrene ball, a long nail, wood glue, and paper kitchen towels. I bought all of these items in a
craft shop.
- I drove the nail through the middle of the wooden plate to make the base, then stuck the polystyrene ball on top of it. The tip of the nail should be deep
inside the polystyrene. To secure everything, I used hot glue, but wood glue would work fine too, I guess.
- Next, I soaked the paper towels in wood glue and applied them to the polystyrene ball for some texture. On the "maiden world," I tried to model some continents
that resemble the Warhammer Fantasy world.
- The final step in building a planet was to paint watered-down wood glue all over the polystyrene ball. This is necessary to prevent the ball from melting when
priming it with spray paint.
|
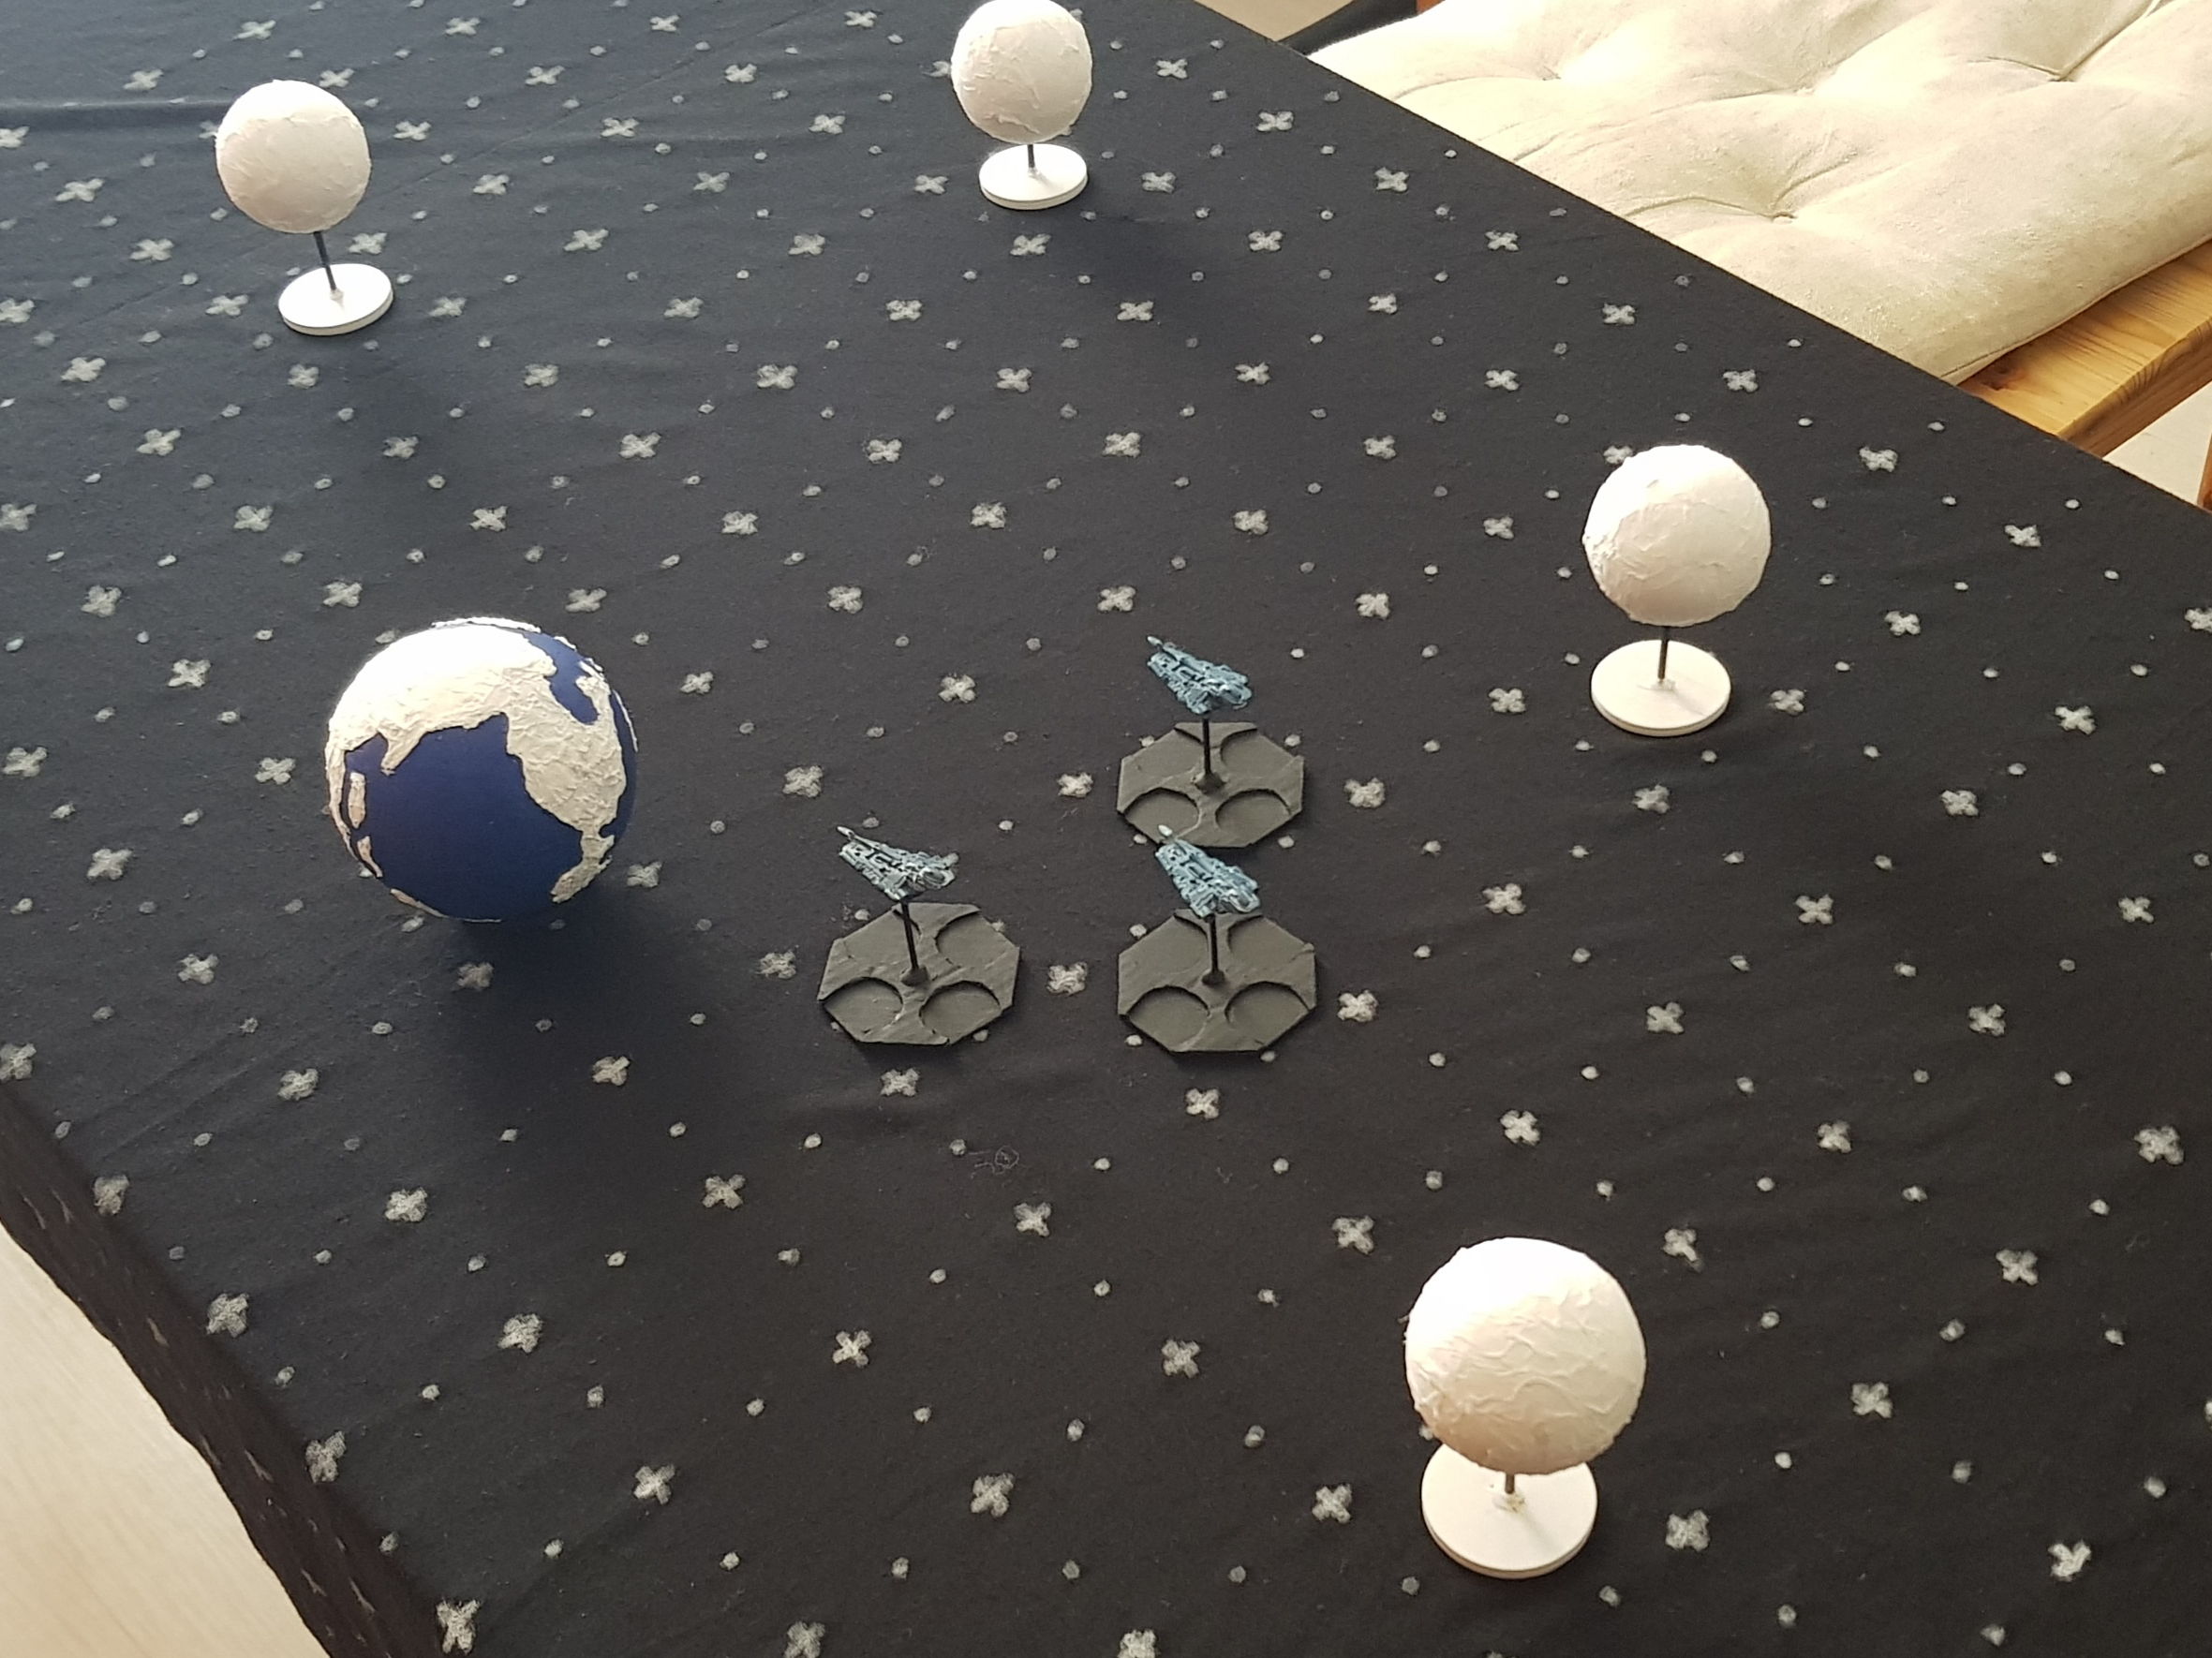
| Here are some planets befor painting.
|
Back to top
Painting a Planet
There is no need for a step by step discription on which colors I used to paint those moons and planets. Any color could be used and it is not that important which
shades of for example green or blue are used. But I will give you some special considerations I followed while painting some of these planets and moons.
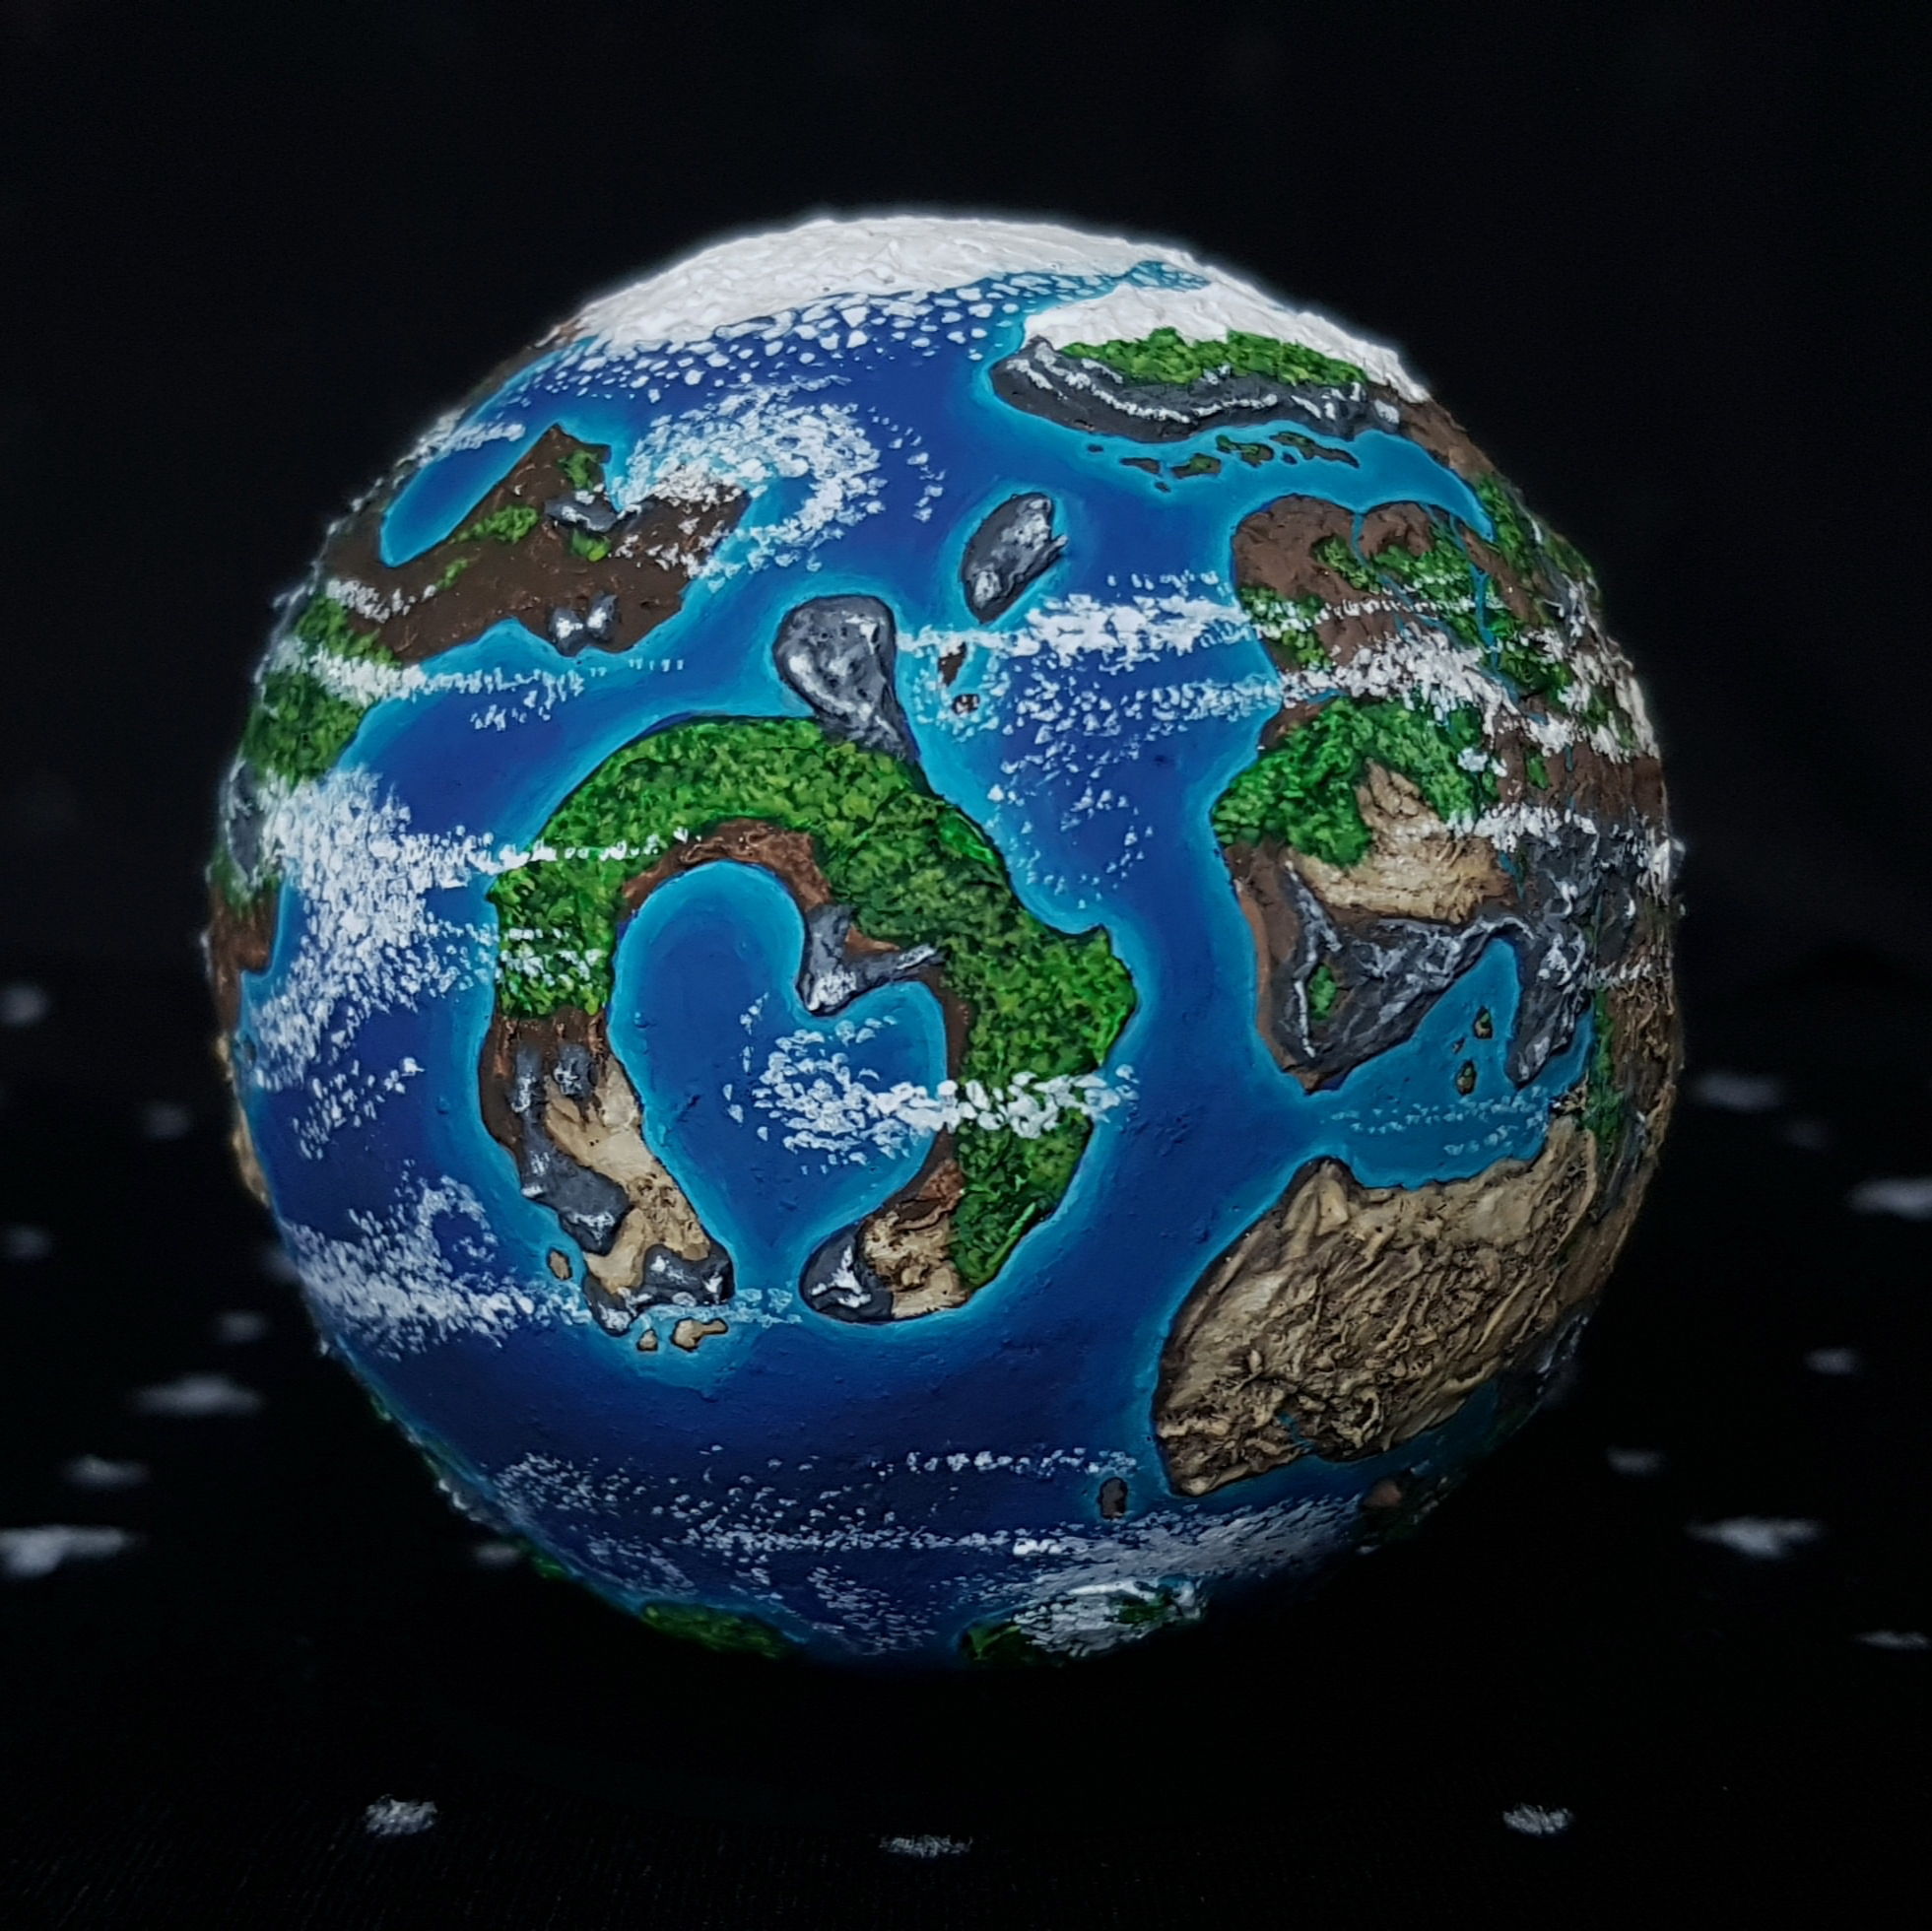
Maiden World
| 
|
- I used a variety of diffrent colors to paint the surface. Look at space images from earth for some reference.
- The most used technique is dry-brushing.
- The climate zones of our earth where a reference for the once on this maiden world.
- I made the top of the mountains white and the blue of the oceans brighter near the coastlines.
- For the cloud patterns, I looked at NASA fotos of our earth as a reference. This turns out to be very helpful.
|
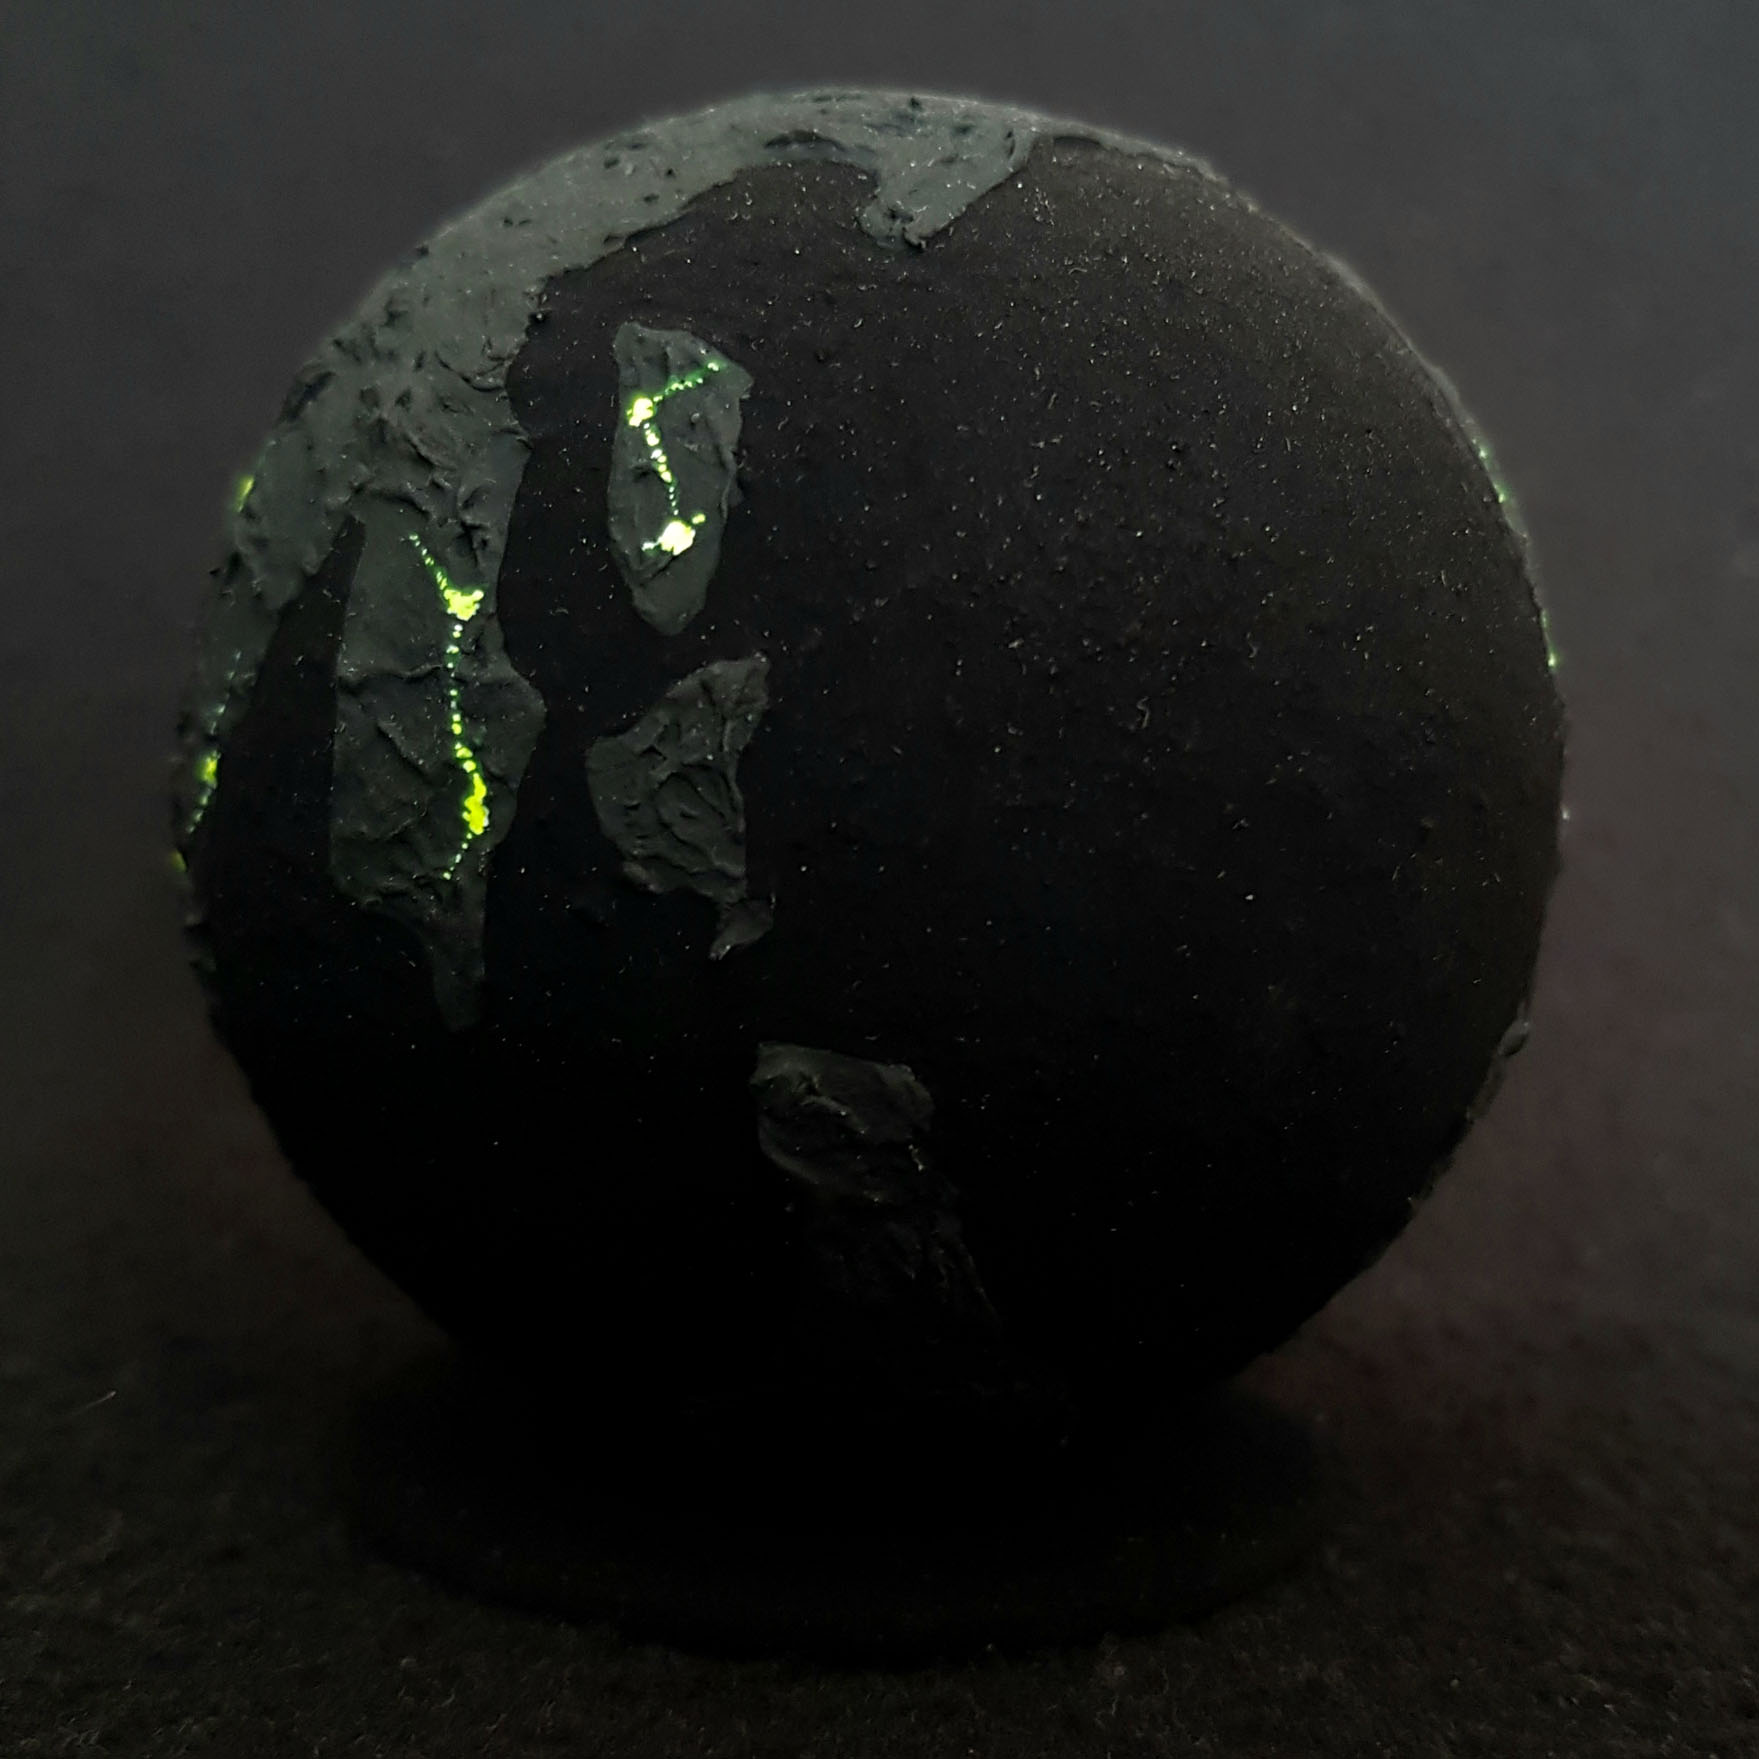
- Inspired by the real space I made a day side and a night side.
- The continents are painted in a normal matte black. Here it's advised to use the Vallejo Model Colour line or acrylic paint
for artists because those ranges got nice matte blacks where wargaming colors are often semigloss.
- The ocean was painted with a special effect paint called Black 3.0 by Culture Hustle. The company claims that this is one of
the blackest blacks ever made. The paint gives a really nice black effect and is much blacker than normal
acrylic paint, as you can see in the picture.
- lastly I painted some yellow dots on some continents, like city lights, to give the whole night side a little bit of variety.
- I could not seal this planet with transparent varnish because that would interfere with the Black 3.0.
|
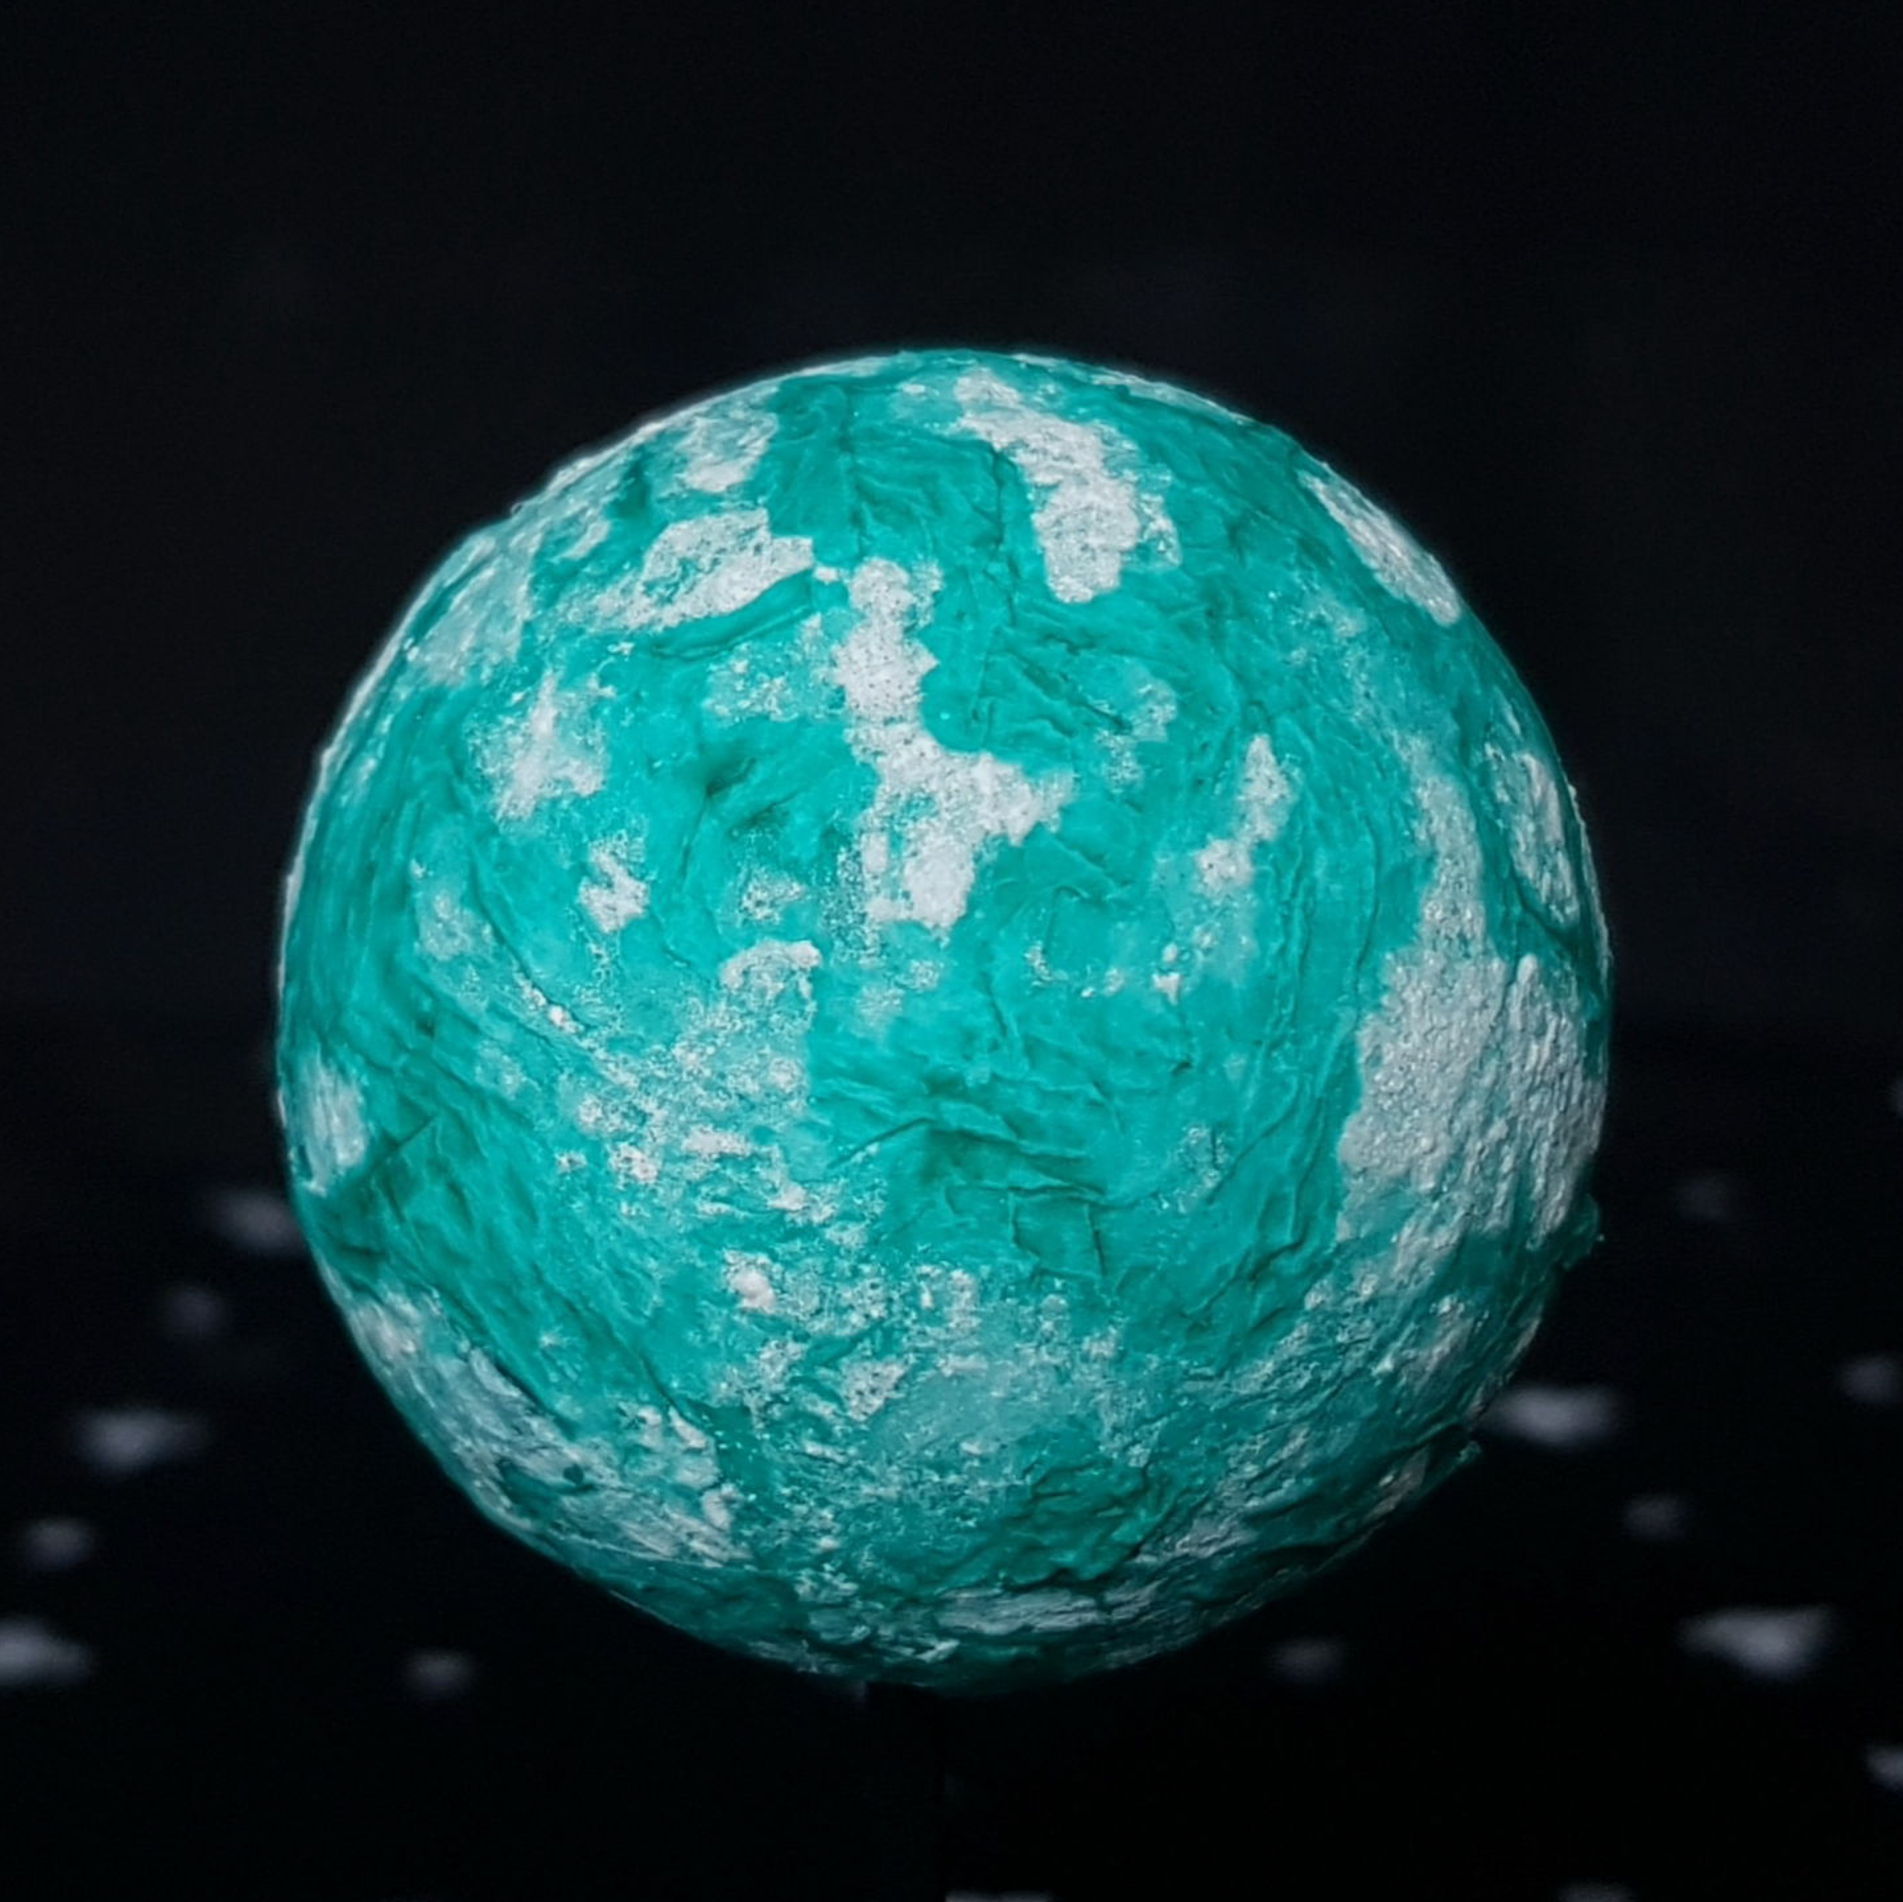
Ice World and Moon
| 
|
- I used a variety of different light blue colors
- I made also a night side, this time completly covered in Black 3.0 by Culture Hustle
- The base was also painted in Black 3.0 by Culture Hustle. This has the effect, that the base is hard to see against a black backdrop.
- Lastly, I mixed baking powder with water and wood glue and applied it to the edges of the "mountains." The idea was to give those icy
places a slight sparkling effect.
|
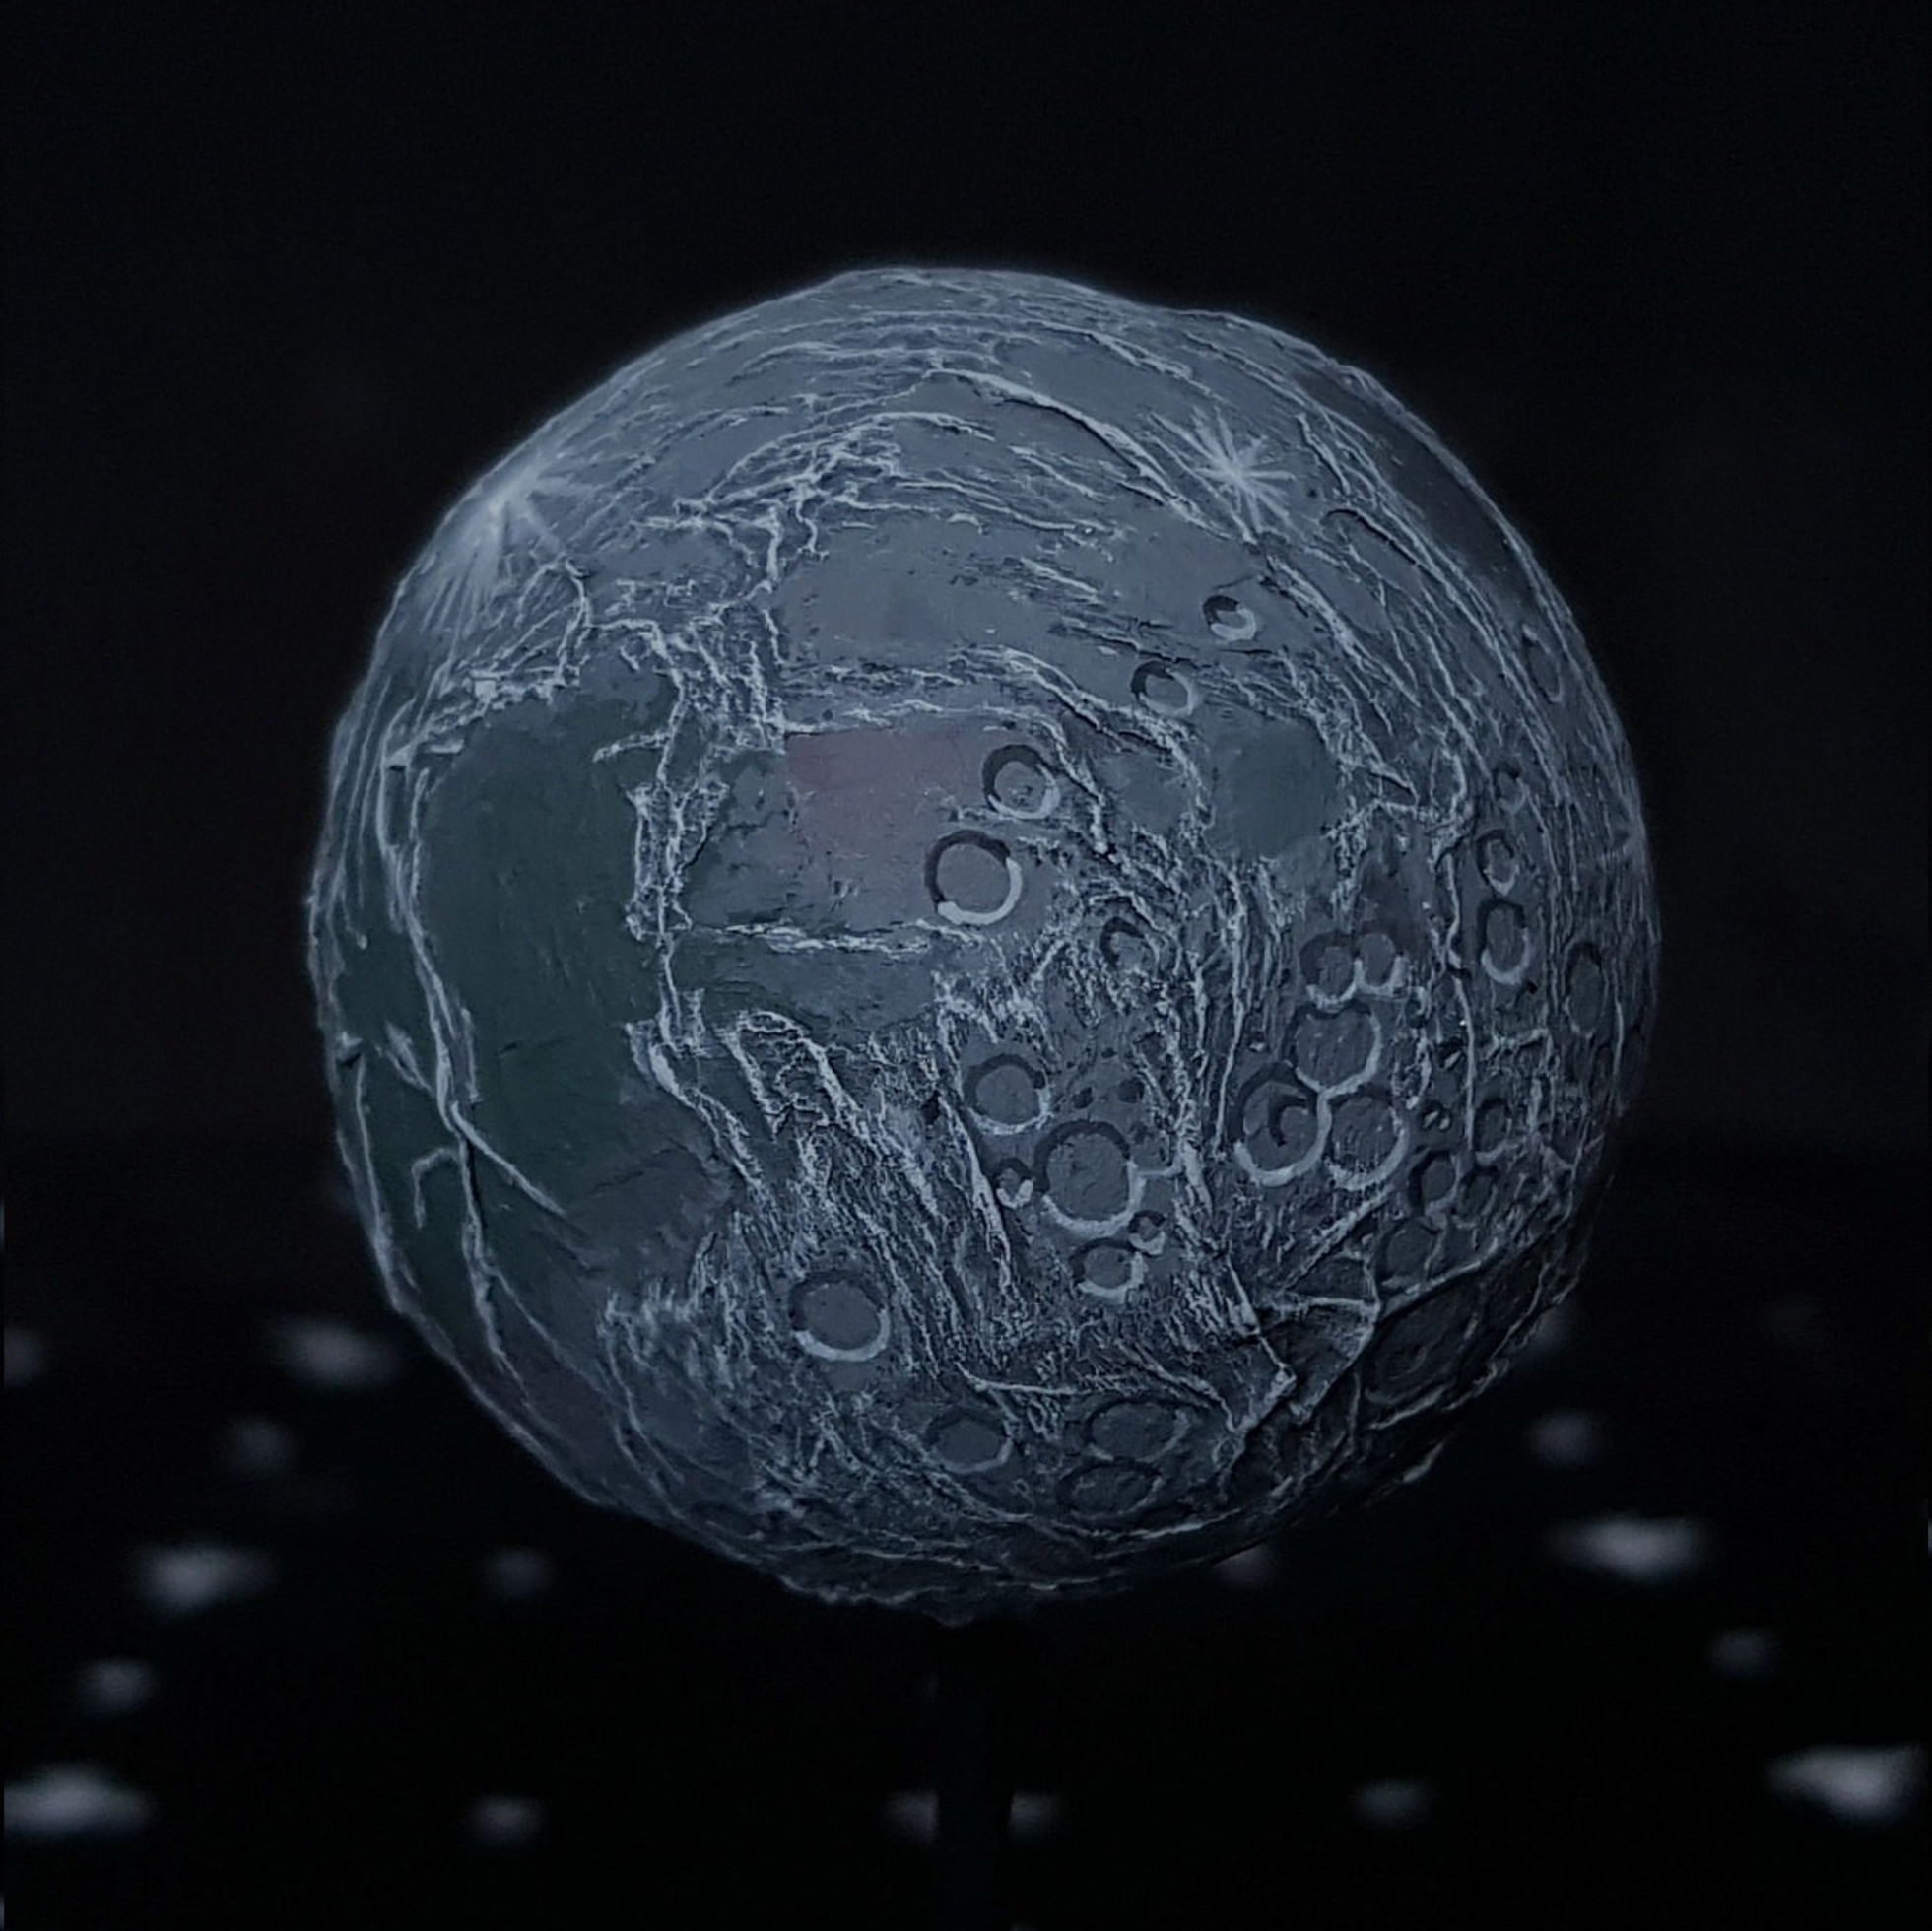
- Obviously, a moon should be painted mostly in grey, but I added some red and green into the mix. There are great dark grey-green acrylic colors
made by Revell called Granite Gray Mat and Black-Green Mat.
- The craters are just painted on the flat surface. It's easy to create a 3D effect by making a light grey half-circle on the lower right side
of the crater and a dark grey half-circle on the upper left side. I also made craters overlapping and inside one another to make them look more
realistic.
|
Back to top
|
|
